The Distribution certification allows finding your team or company within a distribution provisioning profile. And it also permits you to submit your mobile app to the App store. A .p12 file has the certificate that Apple requires to publish an app on the Apple App Store. The upcoming steps will aid you to create iOS Distribution Certificate and .p12 File.
Note: The subsequent steps should be done only on a Mac which will be used to submit and publish your apps on the Apple app store. When you are trying to transfer access to another Mac computer, we recommend following these same steps on the actual machine you will use to submit apps.
Convert Your Website To App – AndroidiOSAndroid & iOS
Before You Start to Create iOS Distribution Certificate and .p12 File
Identify the Mac from which you are going to submit the mobile apps to the App Store
- Ensure to register for an iOS Developer Account
- Create an App ID in iTunes Connect
- Creating a Distribution Certificate
1. In the Mac go to the folder Applications > Utilities and open Keychain Access.
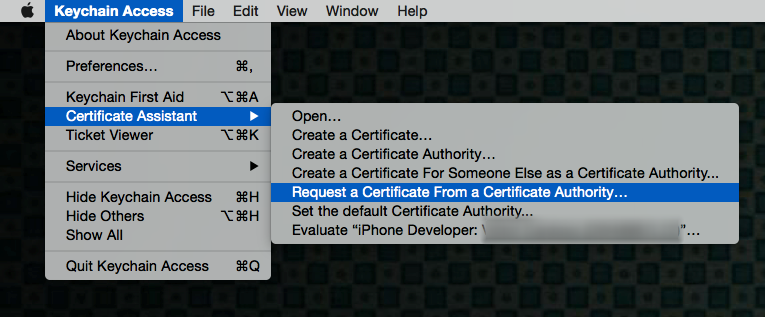
2. Click Keychain Access > Certificate Assistant > Request a Certificate from a Certificate Authority.
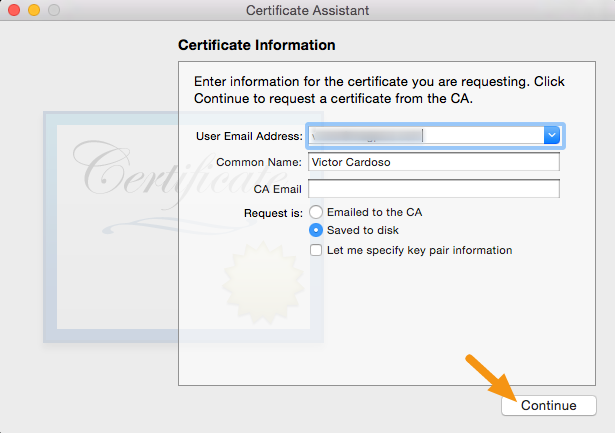
3. Fill information in the Certificate Information window as specified below and click “Continue.” to create iOS distribution certificate and .p12 file.
- In the User Email Address field, enter the email address to identify with this certificate
- In the Common Name field, enter your name
- Request group, click the “Saved to disk” option
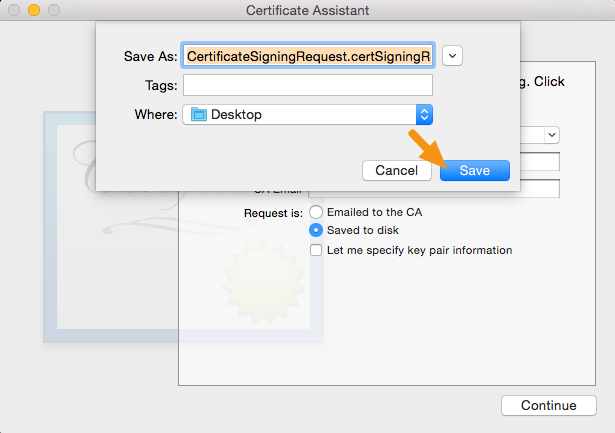
4. Save the file to a hard drive.
• The assistant creates a Certificate Signing Request (CSR) file which includes a public/private key pair.
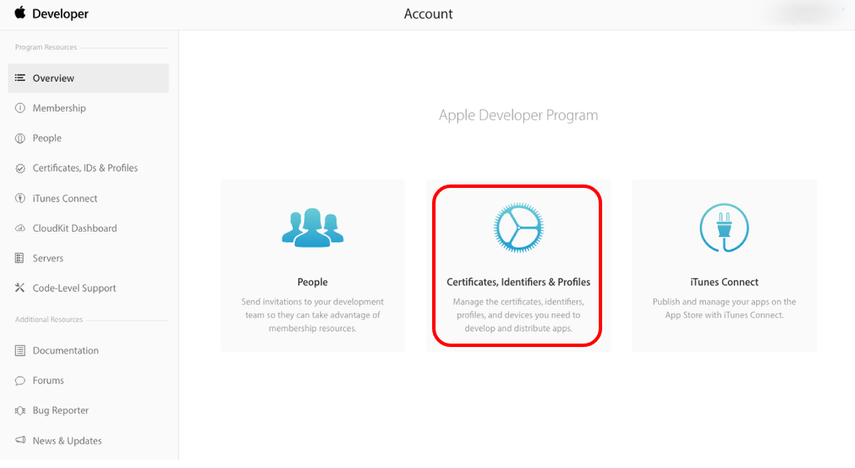
5. For Login into the iOS Developer Console and click Account at the top
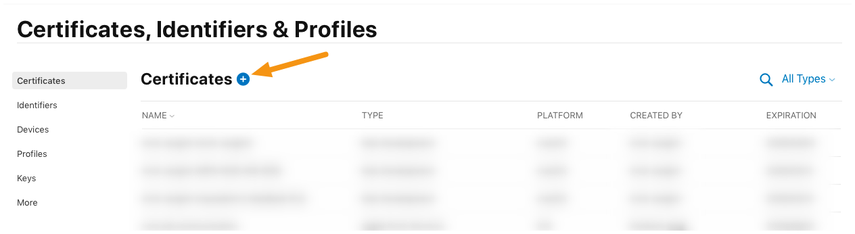
6. Click on “Certificates, Identifiers & Profiles.”
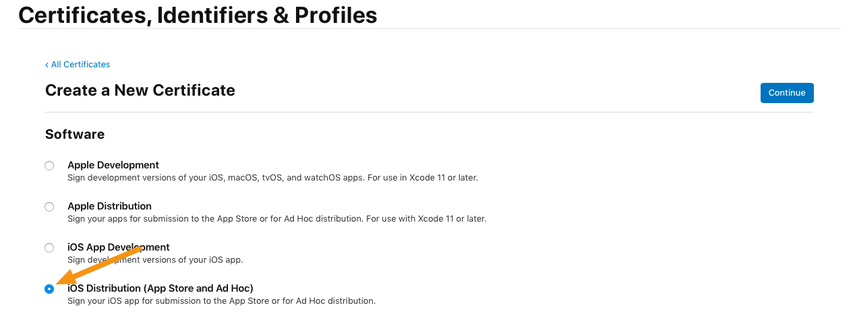
7. To add the new certificate Go to Certificates and click on the “+” button.

8. Choose “App Store and Ad Hoc” from the Production options and click “Continue.”
Note: To use the certificates, you should have the intermediate signing certificate in your OS X system keychain. This is automatically installed by Xcode. If you need to reinstall the intermediate signing certificate click the link at the bottom of the page.
9. Once again click “Continue”
You created your CSR file in the previous steps, so there’s no need to create another one.
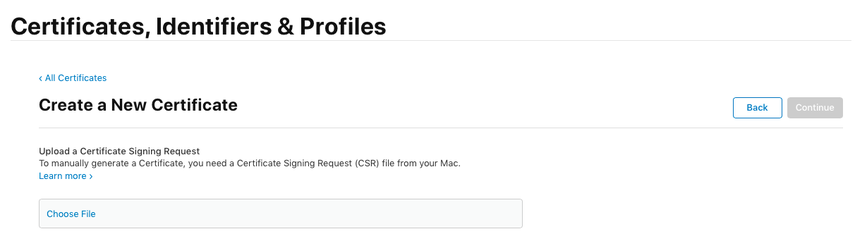
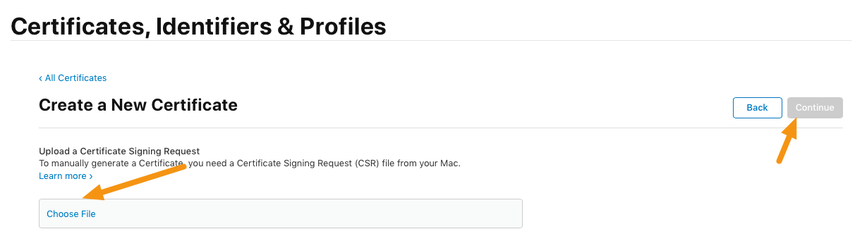
10. Click on “Choose File” and select the CSR file you created previously and then click on “Continue.”
11. Click on the “Download” button to download a .cer file to your machine and then click “Done.”
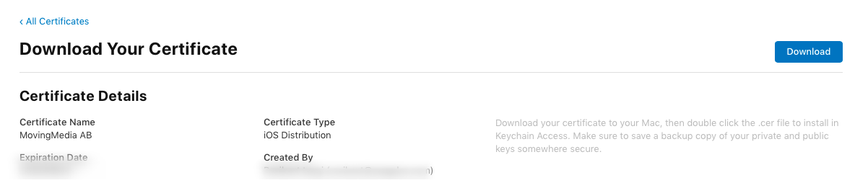
12. Double-click the .cer file to install it in Keychain Access.
Steps to Export a Distribution Certificate as a .p12 File
A .p12 file is a specially formatted and encrypted file that includes your distribution certificate. It is embedded by the mag+ Publishing portal while building your app. iTunes Connect checks for this file while you are submitting an app and it accepts the app if it contains a .p12 file that matches what you have configured in your iTunes Connect account.
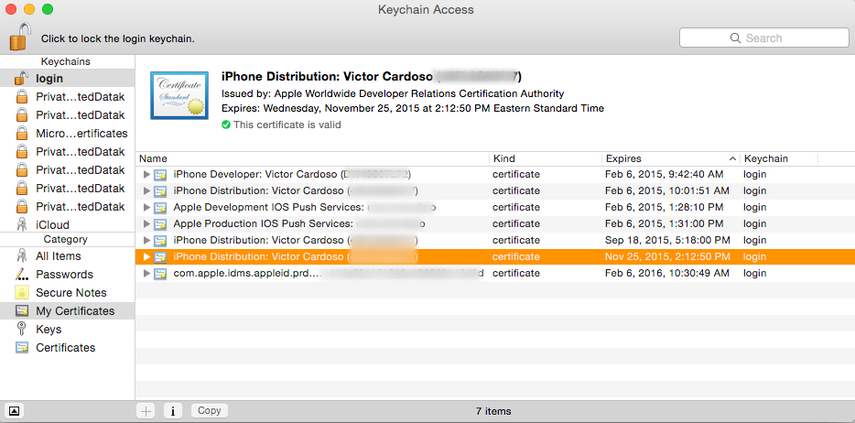
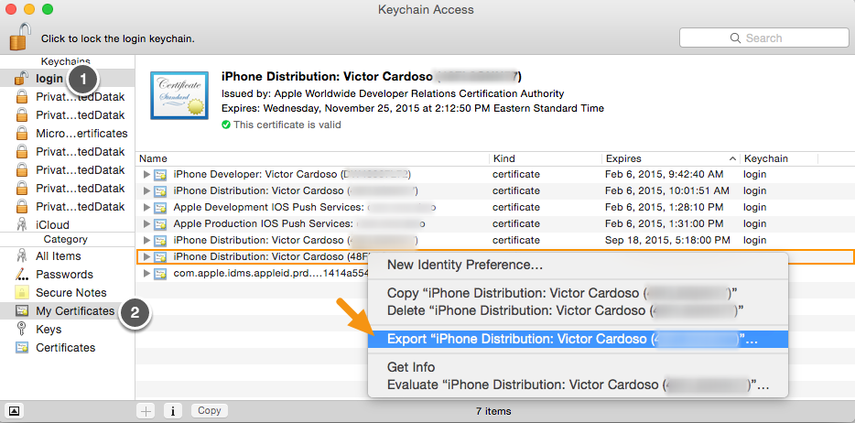
1. On your Mac, launch Keychain Access, select the certificate entry, and right-click on it to select “Export.”
All certificates you have installed will be in the “login” keychain (Label 1) under the category “My Certificates” (Label 2).
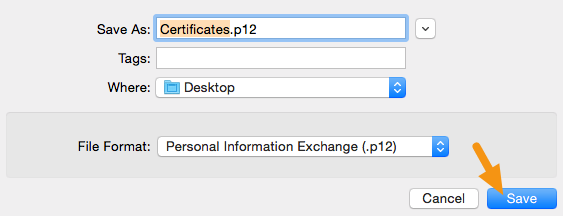
2. In the window, ensure the File Format is set to “Personal Information Exchange (.p12)” and click on “Save” to save it to your machine.
3. If you are asked for a password, leave it blank and click on “Ok.”

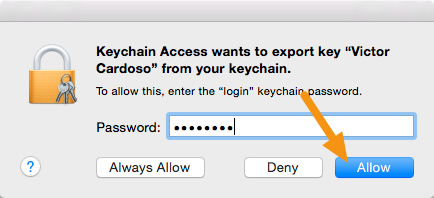
4. After that it asks for the computer password, enter it and click on “Allow.”
5. Your .p12 file will be saved in the location you specified.
6. Login to the mag+ Publish portal and go to Apps > iOS > Certificate and Provisioning Files.
These are the steps to create a Distribution Certificate and a.p12 file for iOS.
Visited 2208 times, 2 Visits today